How to Develop and Deploy an EPIC EHR App using FHIR?
As healthcare organizations move towards digitalization, patients expect easy access to their health information and medical records. To cater to this demand, EPIC EHR offers a platform to develop patient-facing apps that allow patients to browse their health information from the EHR.
This blog will let you through the entire process of creating and deploying a patient-facing app on EPIC EHR using Fast Healthcare Interoperability Resources (FHIR).
Understanding EPIC EHR and FHIR
EPIC EHR is a computerized record of a patient’s health information used by healthcare institutions. The information is maintained in a centralized database, making it available to healthcare practitioners, patients, and other parties involved in the patient’s care.
FHIR is an HL7 standard that allows the simple transmission of digital health data across the healthcare ecosystem. It provides a set of resources and operations used to represent healthcare data in a structured and standardized way. The FHIR resources describe different types of health information, such as patient information, diagnostic reports, and medications.
But why exactly are standards such as HL7 and FHIR significant in healthcare? Also which is a better choice when it comes to building interoperable software: HL7 or SMART on FHIR?
Steps to Develop a Patient-Facing App
- Registration of the app with EPIC EHR
- Integrating the app with the smart FHIR client
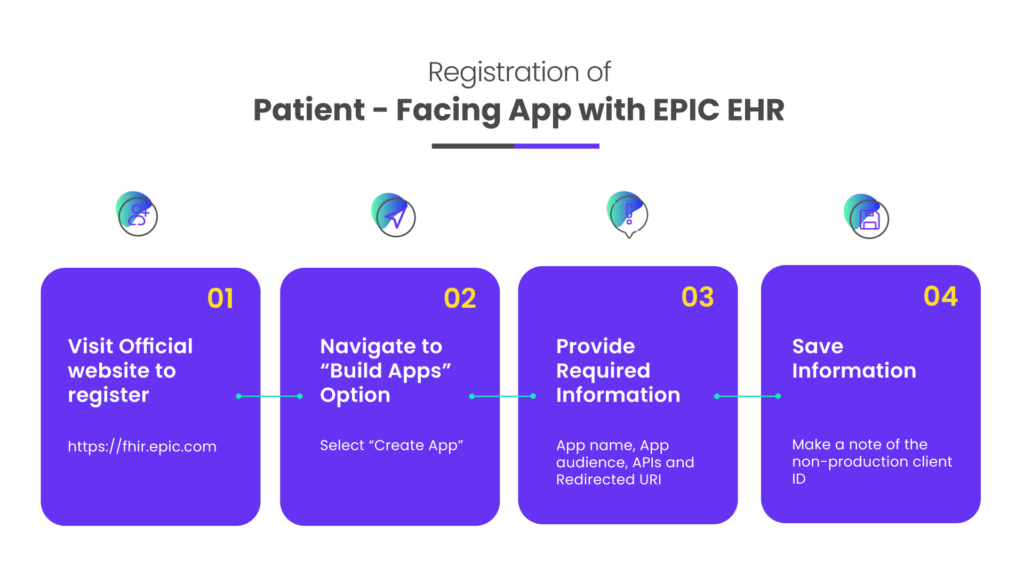
Registration of the app with EPIC EHR
The first step to developing a patient-facing app with EPIC EHR is registration on the official website: https://fhir.epic.com/. Post registration, you need to navigate to “Build Apps”, select “Create App” and enter the following information:
- App name
- Application audience, in this case, “Patients”
- APIs, in this case, Patient. Read (R4), Patient. Search (R4), Observation. Read (Labs) (R4), and Observation. Search (Labs) (R4)
- Redirect URI, which is the URL path where the app will be deployed.
Now, you can save the information and make a note of the non-production client id.

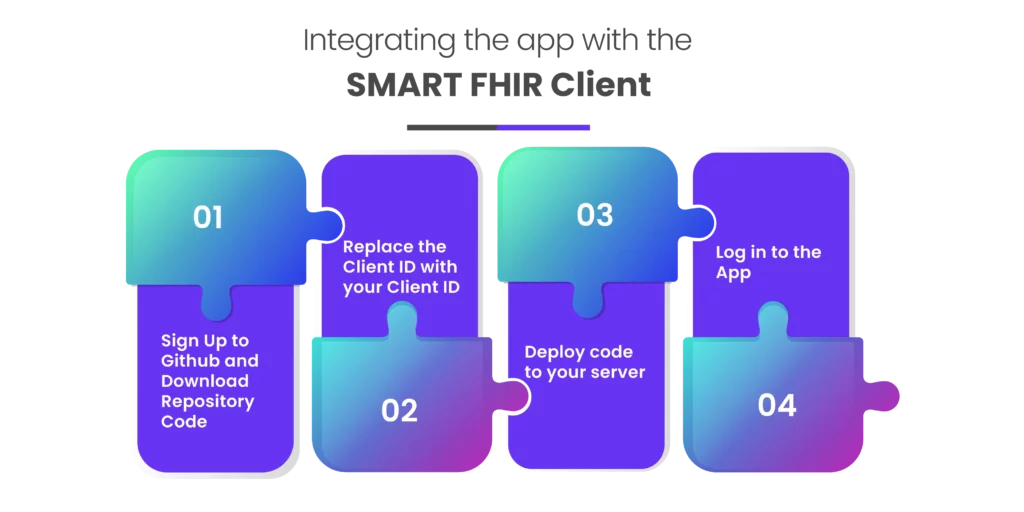
Integrating the app with the SMART FHIR client
After registration, you need to sign up to GitHub and download the code from a repository such as https://github.com/smart-on-fhir/sample-apps. Next, the client ID must be replaced with your client ID. Then you need to redirect URI with the URL path to the page where the app will be deployed in the “launch.html” file. Now, your code can be deployed to your server. Logging in to the app is possible using the provided sandbox login credentials.

Note:
- The redirect_uri entered in the code should match one of the URIs provided at the time of registration.
- The demo app described in this blog is for illustration purposes only. The actual implementation may differ depending on the requirements.
Steps to Deploy
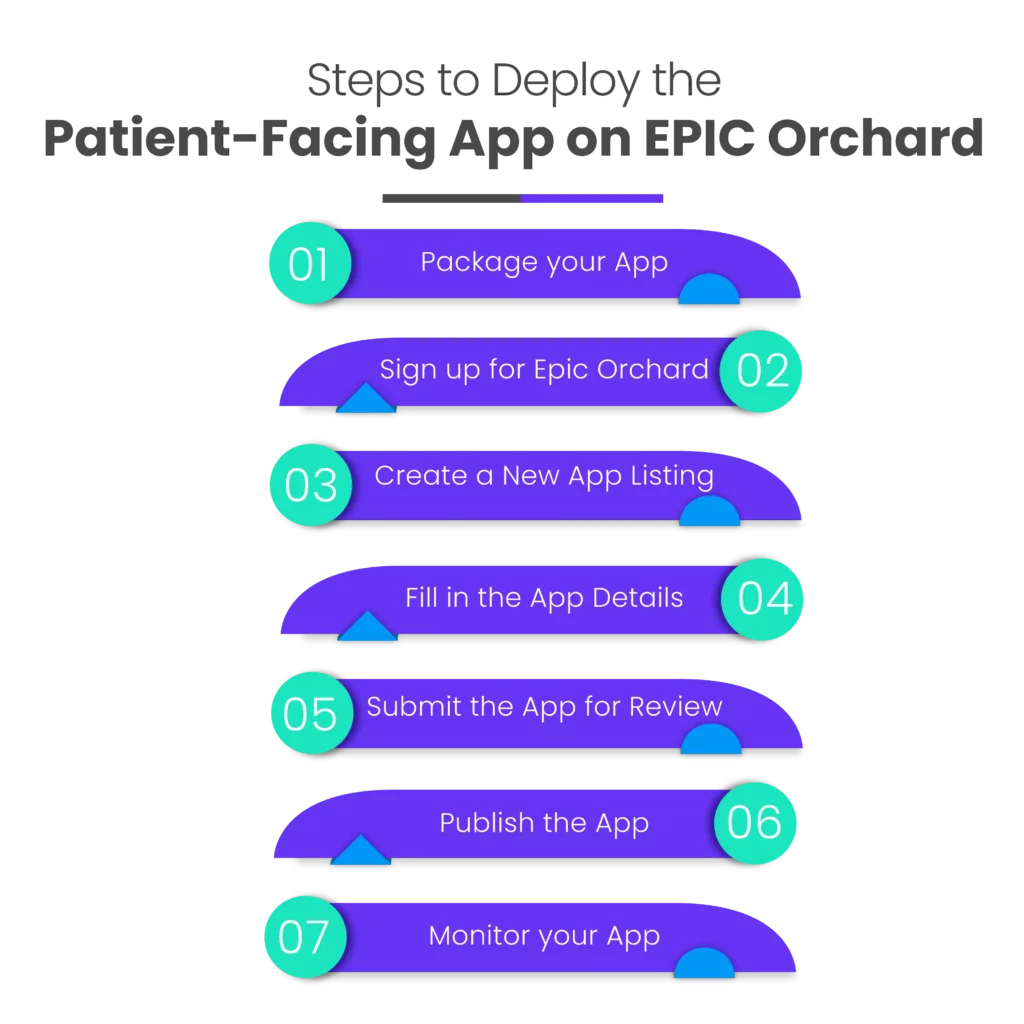
After developing your patient-facing app for the Epic EHR system, the next step is to deploy it to the Epic Orchard app store. Epic Orchard is a platform that allows developers to share their Epic-integrated apps with the healthcare community.

- Package your app: Epic Orchard accepts your app properly packaged. It must be a ZIP file containing all files of JavaScript, CSS, HTML, and others.
- Create an account on Epic Orchard by visiting the official website https://orchard.epic.com/.
- Create a new app listing
- Fill in the app details
- App name: Give your app a relevant and descriptive name.
- Description: Provide a brief summary of what your app does and how it might help patients.
- App URL: Provide the URL of your app, where patients can access it.
- Category: Choose the category that best defines your app.
- Screenshots: Provide users with a preview of your app by uploading screenshots.
- App files: Upload the ZIP file you made in step 1.
- Submit the app for evaluation: You can submit your app for review once you have completed all the relevant fields. The approval procedure at Epic Orchard normally takes 2-3 working days.
- Publish the app: If your app is approved, Epic Orchard will notify you via email. Once you receive the notification, you can log in to your Epic Orchard account and publish your app.
- Monitor your app: Once it is published on Epic Orchard, you can monitor its usage and performance through the Epic Orchard dashboard. You can see how your app performs by looking at the number of downloads, user ratings, and other analytics.
Finally, designing and deploying your patient-facing app is a simple procedure requiring you to follow the steps outlined above. As a result, you can reach a larger audience and assist in improving patient health outcomes.


